How to Choose a Screen Protector (and Install It Without Bubbles)
Tempered glass, film, privacy, or matte? Learn which screen protector type suits you, what to look for, and how to install one cleanly step by step.
This post contains affiliate links. As an Amazon Associate I earn from qualifying purchases. Affiliate disclosure.
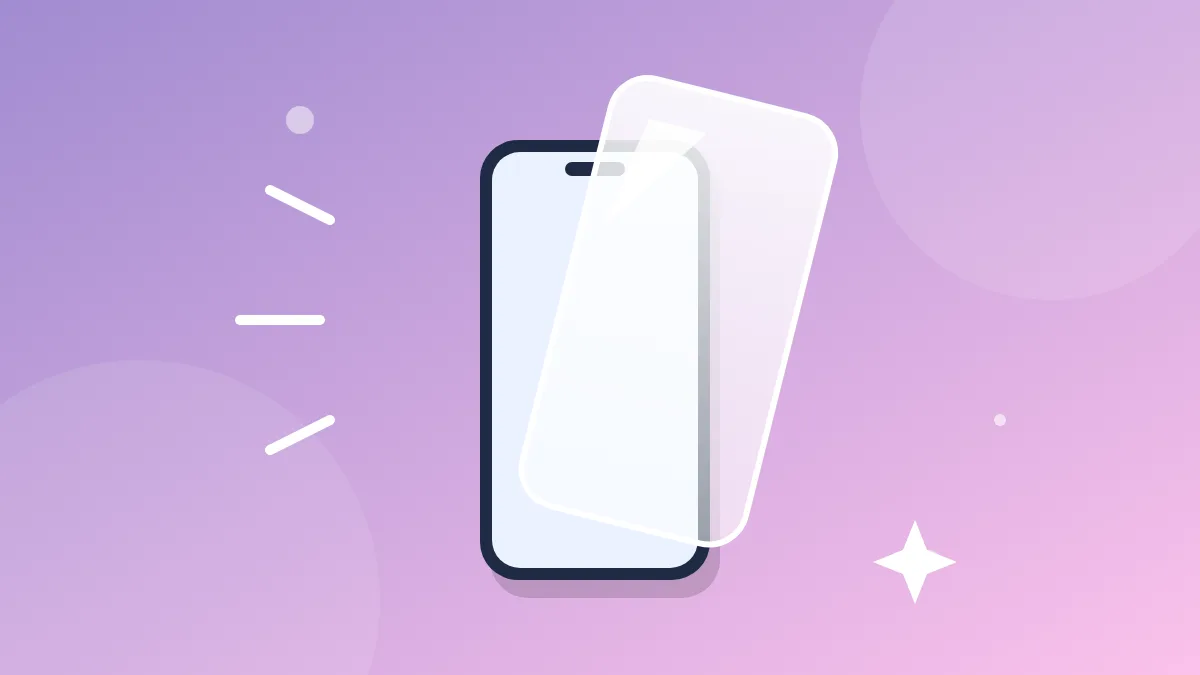
A cracked screen is one of the most common and most expensive phone repairs. A screen protector is a cheap way to lower that risk and prevent scratches. But with so many types on the market, it's hard to know what to buy. Here's a plain-English guide to choosing one, plus step-by-step instructions to install it without bubbles or dust.
Do you even need a screen protector?
Modern phone screens, like Apple's Ceramic Shield and Corning's Gorilla Glass, are tougher than older ones. Still, no phone glass is scratch-proof or shatter-proof. Sand and grit in pockets can cause fine scratches, and drops onto hard surfaces can still crack screens. A protector is meant to take the damage instead of your phone's display, and it's much cheaper to replace.
If you keep your phone a long time, plan to resell it, or tend to drop things, a protector is worth it.
The main types of screen protectors
Tempered glass
The most popular choice. Tempered glass protectors feel almost like your phone's real screen, are smooth to the touch, and can absorb impact. If one cracks, you replace the protector instead of the screen.
- Pros: Feels natural, clear, good impact and scratch protection.
- Cons: Slightly thicker; can crack and need replacement.
Plastic film (PET or TPU)
Thin, flexible plastic sheets. TPU film can "self-heal" minor scratches.
- Pros: Very thin, inexpensive, good for curved screens.
- Cons: Less drop protection, can feel less smooth.
Privacy screen protectors
These darken the screen when viewed from the side, so people next to you can't easily read it.
- Pros: Great for commuting and public places.
- Cons: The screen looks dimmer, and you may need to raise brightness, which uses more battery.
Matte (anti-glare)
A textured finish that reduces glare and fingerprints.
- Pros: Easier to see in bright light, fewer smudges.
- Cons: Slightly less sharp image, different feel under your finger.
What to look for when buying
- Exact model match. An iPhone 16 protector won't fit an iPhone 16 Pro. Check your model in Settings > General > About (iPhone) or Settings > About phone (Android).
- Case compatibility. Look for "case-friendly" protectors that don't lift at the edges when you put a case on.
- Cutouts for sensors. Make sure the protector leaves room for the front camera, Face ID sensors, or the Dynamic Island.
- Fingerprint sensor support (Android). Many Android phones have in-screen fingerprint readers. Choose a protector listed as compatible with your phone's sensor.
- Installation kit. An alignment frame or tray makes a big difference for getting it straight.
- Multi-packs. Many brands include two or three protectors, handy if you mess up the first try or crack one later.
How to install a screen protector (step by step)
What you'll need
- The protector and any included kit (wet wipe, dry cloth, dust stickers, alignment frame)
- A clean, dust-free space. A bathroom after a hot shower works well, because steam settles dust in the air.
- Clean, dry hands
Steps
- Remove your case and turn off the screen.
- Clean the screen with the wet wipe to remove oils and fingerprints.
- Dry and polish with the microfiber cloth until there are no streaks.
- Remove dust with the dust-removal stickers. Dab the whole screen, paying attention to edges. Hold the phone under a light at an angle to spot any specks.
- Set up the alignment frame, if included, and place the phone in it.
- Peel the backing off the protector, holding it by the edges only. Don't touch the sticky side.
- Align and lower the protector onto the screen. Let it drop into place in the frame, or line it up with the camera cutout first.
- Press gently in the center. The adhesive will usually spread outward on its own.
- Push out bubbles by sliding the cloth or a card from the center toward the edges.
- Remove the frame and put your case back on.
Dealing with bubbles and dust
- Small air bubbles often disappear on their own within a day or two.
- A dust speck under the glass? Carefully lift the corner nearest to it using a piece of tape, remove the dust with a dust sticker, and lower the protector back down.
- Large bubbles at the edges may mean the protector is lifting because of your case. A case-friendly protector or a different case can help.
When to replace your screen protector
Replace your protector when it:
- Is cracked or chipped
- Has deep scratches that bother you
- Starts lifting at the edges and collecting dust
- Makes the touch screen unresponsive in spots
To remove a tempered glass protector, lift one corner with a fingernail and peel slowly. If it's cracked, go carefully to avoid glass splinters.
Pair it with a good case
A screen protector guards the front; a case guards the corners and back, where many drops land first. A case with a slightly raised edge, or "lip," around the screen adds extra protection when your phone lands face down.
Quick summary
- Best for most people: Tempered glass with an alignment kit
- Best for privacy: Privacy glass
- Best for glare: Matte
- Best for curved screens: Flexible film designed for your model
Get the exact model match, install it in a dust-free room, and your screen will be much better protected.